Просмотр новости
Найдите то, что Вас интересует
 Спутники
 РН
РН SpaceX
 Роскосмос
 NASA
NASA
СпутникиРНSpaceXРоскосмосNASAImagine whipping up a starry wonder with just two balls of yarn! Yes, you heard that right; not ten, not five, but two solitary spheres of fluff are all you need to create the Crochet Snowflake Star Throw. Measuring a generous 50" across, this crochet masterpiece coyly seduces you into the world of stitches with […]
The post How to Crochet Snowflake Star Throw + Tutorial appeared first on The Crochet Crowd.
Imagine whipping up a starry wonder with just two balls of yarn! Yes, you heard that right; not ten, not five, but two solitary spheres of fluff are all you need to create the Crochet Snowflake Star Throw. Measuring a generous 50" across, this crochet masterpiece coyly seduces you into the world of stitches with merely a duo of Red Heart treasures. The dazzling blue is courtesy of Red Heart Comfort yarn in the oh-so-regal 'Peacock', while the pristine white comes from Red Heart Super Saver Jumbo in an imaginative shade called 'White'. Want a crochet empire? Just double up on those yarn balls!
The pattern? A no-sweat, 6-round repeat that keeps its cool and stays flat as a pancake – until you decide enough’s enough. But who wants to stop when you're having fun? Keep on hooking, and it might just keep on growing!
In This ProjectOh, and don’t forget, it comes with a matching tutorial, likely to help when you get lost in all the fun of expanding your crochet cosmos!
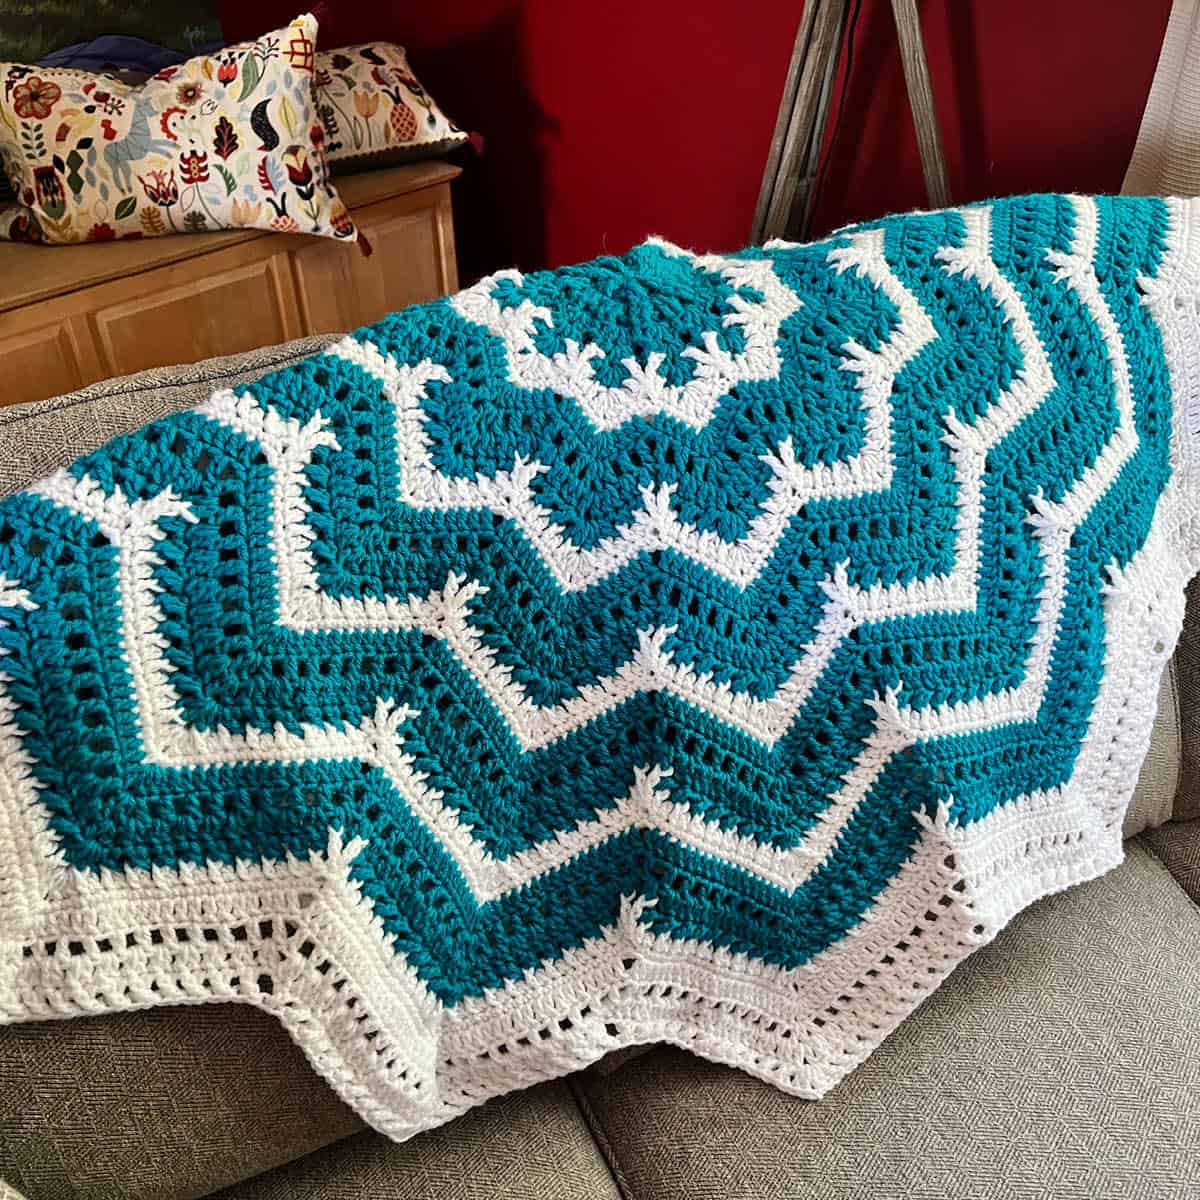
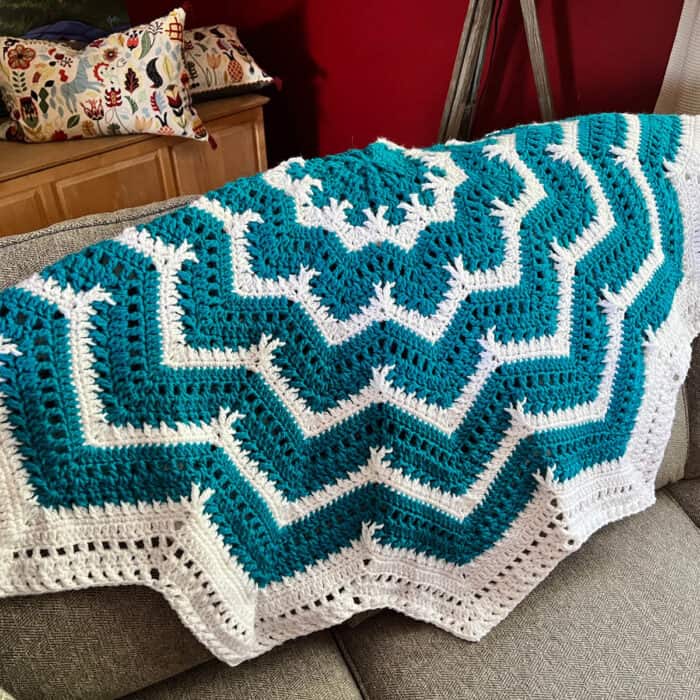 Easy Crochet Snowflake Throw Pattern
Red Heart Comfort, 454 g/16 oz, 792 meters/867 yards
A - Peacock 1 Ball
Red Heart Super Saver Jumbo, 396 g/14 oz, 681 meters/744 yards
B - White
Use 5.5 mm / I/9 Hook or size hook to match gauge.
Measurement approx 50” diameter from point to point.
Gauge: 13 sc and 14 rows = 4” [10 cm]
Notes:
With A, ch 4. Sl st to beg ch to form ring.
1st rnd: RS. Ch 1. 12 dc in ring. Join. 12 dc.
2nd rnd: Ch 1. 2 dcfp around first post below, 2 dcbp around next post. *2 dcfp around next post, 2 dcbp around next post. Rep from * around. Join. 24 sts.
3rd rnd: Ch 1. 1 dc in first st as join. 2 dc in next st. *1 dc in next st, 2 dc in next st. Rep from * around. Join. 36 dc.
4th rnd: Ch 1. 1 dcfp around first post below, 1 dcfp around next st. 2 dcbp around next st. *1 dcfp around next 2 posts, 2 dcbp around next post. Rep from * around. Join. 48 sts.
5th rnd: Ch 1. 1 sc in same st as join. Sk next st. (2 dc. Ch 2. 2 dc) in next st. Sk next st. *1 sc in next st, sk next st, (2 dc. Ch 2. 2 dc) in next st. Sk next st. Rep from * around. Join. 12 star points formed.
6th rnd: Sl st 2 sts over. Ch 1. 1 dc in same st. (2 dc. Ch 1. 2 dc) in next ch-2 sp. 1 dc in next st. Sk 3 sts. *1 dc in next st, (2 dc. Ch 1. 2 dc) in next ch-2 sp. 1 dc in next st. Sk 3 sts. Rep from * around. Join.
7th rnd: Sk next 1 st over. Ch 1. 1 dc in same st. 1 dc in next st. (2 dc. Ch 2. 2 dc) in next ch-2 sp. 1 dc in next 2 sts. Sk 2 sts. *1 dc in next 2 sts, (2 dc. Ch 2. 2 dc) in next ch-2 sp. 1 dc in next 2 sts. Sk 2 sts. Rep from * around. Join. Break A.
Repeat Starts Here
Tr2togfp = Uses the 2nd last stitch in the point before and the 2nd stitch in from the point you are about to start. It’s in red on diagram for easier visual.
8th rnd: Join B next stitch over from sl st. Ch 1. 1 dcfp around same post below. [1 dc in next st. 1 dcfp around next post below.] Rep [ ] to ch-2 sp. (2 dc. Ch 2. 2 dc) in next ch-2 sp. 1 dcfp around next post. [1 dc in next st. 1 dcfp around next post below.] Rep [ ] until you have 2 empty stitches between the points. Tr2togfp. Sk next 2 dc. *1 dcfp around same post below. [1 dc in next st. 1 dcfp around next post below.] Rep [ ] to ch-2 sp. (2 dc. Ch 2. 2 dc) in next ch-2 sp. 1 dcfp around next post. [1 dc in next st. 1 dcfp around next post below.] Rep [ ] until you have 2 empty stitches between points. Tr2togfp. Sk next 2 dc. Rep from * around. Join.
9th rnd: Sl st next st over. Ch 1. 1 sc in same st. 1 sc in each st to ch-2 point sp. (1 sc. Ch 1. 1 sc) in ch-2 sp. 1 sc in each st until you have 1 empty stitch in the previous point, 1 empty tr2togfp and 1 empty into the next point. Sk next 3 sts. *1 sc in next 4 sts, (1 sc. Ch 1. 1 sc) in ch-2 sp. 1 sc in each st until you have 1 empty stitch in the previous point, 1 empty tr2togfp and 1 empty into the next point. Sk next 3 sts. Rep from * around. Join. Break B.
10th rnd: With A attach with sl st next st over. Ch 1. 1 dc in each st to ch-1 sp. (2 dc. Ch 2. 2 dc) in ch-1 sp. 1 dc in each st until you have 2 empty stitches between the point. Sk next 2 sts. *1 dc in each st to the ch-1 sp. (2 dc. Ch 2. 2 dc) in ch-1 sp. 1 dc in each st until you have 2 empty stitches between the point. Sk next 2 sts. Rep from * around. Join.
11th rnd: Sl st next st over. Ch 1, 1 dc in same st, Ch1. [Sk next st. 1 dc in next st. Ch 1.] Rep [ ] until ch-2 sp. (1 dc. Ch 1. 1 dc) in ch-1 sp. Ch 1. 1 dc in next st. [Sk next st, ch 1, 1 dc in next st]. Rep [ ] until 2 empty sts between points. Sk next 2 sts. *1 dc in next st. [Sk next st. 1 dc in next st. Ch 1.] Rep [ ] until ch-2 sp. (1 dc. Ch 1. 1 dc) in ch-1 sp. Ch 1. 1 dc in next st. [Sk next st, ch 1, 1 dc in next st]. Rep [ ] until 2 empty sts between points. Sk next 2 sts. Rep from * around. Join.
12th rnd: Sl st next to ch-1 sp. Ch 1. 2 dc in same ch-1 sp. [2 dc in each ch-1 sp to ch-1 sp point. (1 dc. Ch 1. 1 dc) in point sp. [2 dc in each ch-1 sp until the 2 middle dc between points. *[2 dc in each ch-1 sp to ch-1 sp point. (1 dc. Ch 1. 1 dc) in point sp. [2 dc in each ch-1 sp until the 2 middle dc between points. Rep from * around. Join.
13th rnd: Sl st over next 2 sts. Ch 3. 1 dc in previous stitch behind the first ch-3. [Dcccb]. Rep [ ] until ch-1 point sp. (2 dc. Ch 2. 2 dc) in ch-1 sp. [Dcccif]. Rep [ ] until 2 empty stitches between the points. Sk next 2 sts. *[Dcccb]. Rep [ ] until ch-1 point sp. (2 dc. Ch 2. 2 dc) in ch-1 sp. [Dcccif]. Rep [ ] until 2 empty stitches between the points. Sk next 2 sts. Rep from * around. Join. Break A.
Repeat rounds 8 to 13 - 3 more times.
Using B only, complete rounds 8 to 13. Fasten off.
You can grow this out to being as big as you need but the original blanket will only use 2 balls for the child size 50” diameter version.
 Crochet Snowflake Throw by Mikey with Tutorial Included
Summary
Article Name
Crochet Snowflake Star Throw
Description
Crochet an easy repeating 12-point star with 6 rounds of a repeating pattern.
Author
Michael Sellick
Publisher Name
The Crochet Crowd
Publisher Logo

| # | Наименование новости | Тональность | Информативность | Дата публикации |
|---|---|---|---|---|
| 1 | Crochet Christmas Holiday Hearts Throw + Tutorial | 0 | 5.88 | 24-06-2026 |
| 2 | Crochet Three Little Pumpkins Pattern + Tutorial | 0 | 7.21 | 21-07-2026 |
| 3 | 10 Most Helpful Crochet Lessons of All Time By The Crochet Crowd | 0 | 7.01 | 16-08-2026 |
| 4 | Crochet Happy Holiday Throw Pattern + Tutorials | 0 | 8.12 | 28-07-2026 |
| 5 | Crochet Tuck-It Tote Bag Pattern + Stitch Along | 0 | 7.93 | 18-08-2026 |
| 6 | Crochet Pumpkin Patch Blanket Pattern + Tutorial | 0 | 6.69 | 21-07-2026 |
| 7 | 5 Crochet Sweater Patterns with Common Skills We Know | 0 | 5.24 | 01-06-2026 |
| 8 | Super-Duper Exclusive Retro Revival Vintage Patterns for Free | 0 | 7.16 | 10-06-2026 |
| 9 | New Product: Bernat Blanket Matte & Shiny Yarn Product Review | 0 | 6.84 | 11-08-2026 |
| 10 | Crochet Table Pumpkin Patch Pattern + Tutorial | 0 | 7.63 | 20-07-2026 |